Here you go: How to edge your bed better than a pro in 10 easy steps. “Pretty arrogant,” you might say! Q: What makes you think you do it better than a pro? A: Because I hate edging and I don’t want to do it more than once a season. Pros don’t mind coming back every few weeks to redo edging as repeat $ales. I do.
There are few jobs in the garden I hate more than edging flower beds. The only thing worse is letting my husband edge it and I pay the price with mowing the rest of the season. He helps a lot, does a good job and means well … but … I think he’s of the opinion that…
a man isn’t a man if he doesn’t dig deep manly trenches that require rappelling equipment to navigate.
Don’t get me wrong: they’re crisp and beautiful and look like the White Cliffs of Dover, except they’re the Brown Cliffs of Shafer. But using a lawn mower anywhere in the vicinity means scalping or fringe with nothing in between for the rest of the season. So, I must beat him to the edge and make sure it looks so good, he doesn’t feel obligated to do something manly with landscaping tools when he can do equally manly jobs (LOL like taking out the garbage instead, wink, wink).
Tools you will need for your expert edging:
- rake,
- edging tool,
- trowel,
- a large container/ yard waste bag/ or tarp for debris,
- hand clipper/grass shears, and
- Round-up Extended Control (or other long lasting vegetation killer).
How to Edge Better than a Pro in 10 easy steps:
- The ground must be dry enough to permit an edge without becoming slimy mush … but moist enough that it doesn’t seem like concrete or disintegrate into a dust pile.
- The edging tool must be sharp. I have used both a”half-moon” edger and straight edge shovel. Both are good provided they’re sharp. If they aren’t sharp, then a YouTube video and a metal file will do the trick.

- Using the rake, pull any residual mulch away from the area where your edge will be.
- Place edging tool at the edge location you want and step straight down to cut the edge. Don’t rock forward and back or it will destroy the crispness. If you need to rock it to get the tool out, side to side keeps the edge nice.
- Do a section long enough to end at a good stopping point. In other words, not a foot at a time. I usually do 6-8 feet where a plant or stepping stones make a logical stop point.
- Using the trowel, go back and dig the trench 3 inches deep to remove the parts being edged out. Three inches is deep enough to get most of the grass roots but not so deep that mulch won’t fill it in later.
- Recycle yard waste being collected to container, tarp, or yard waste bag.
 Repeat until the full edge is complete and then use the grass clippers to shear the very edge to a scalping level. While a weed whacker could do it, the result will be less precise.
- Take the Round-up Extended control and spray ONLY the base and lowest wall portion of the trench. Don’t get it on the grass or it will kill it.
- After the Round-up has dried, replace mulch to within 1″ of grass level, and if desired (and I do) spray another 4-6″ barrier band of Round-up on top of the mulch to keep grass and groundcover from mingling, and you’re done!
* * *
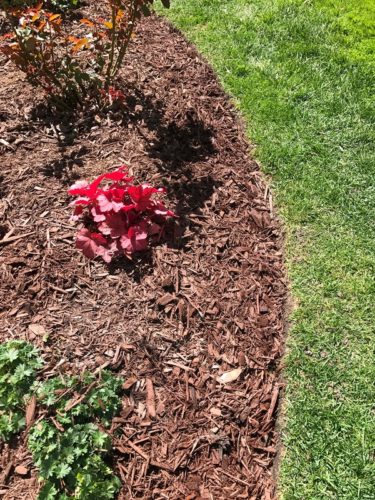
It has been my experience that this edging method–while initially hard work– lasts for a whole season keeping grass out of my flower beds and groundcover out of my grass. Better yet, it works so well as a barrier that the next year edging is a breeze! Plus, working hard at something that lasts is biblical:
Colossians 3:23 Whatever you do, work at it with all your heart, as working for the Lord, not for men.